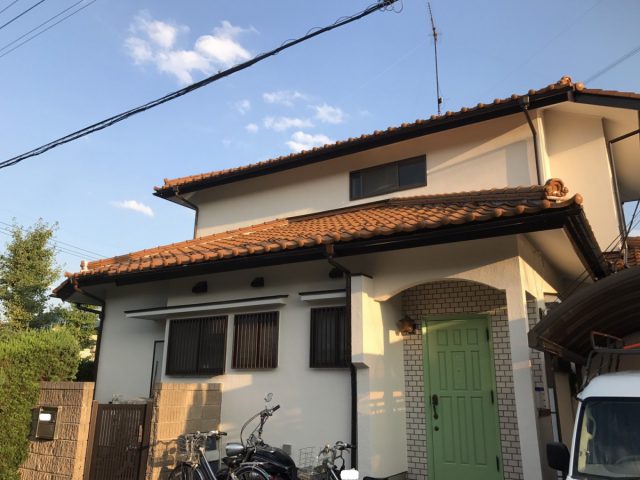
2017年09月7日 群馬県高崎市吉井町K様邸 外壁塗装工事(シリコンプラン)
気になっていた外壁のひびもきれいに補修!
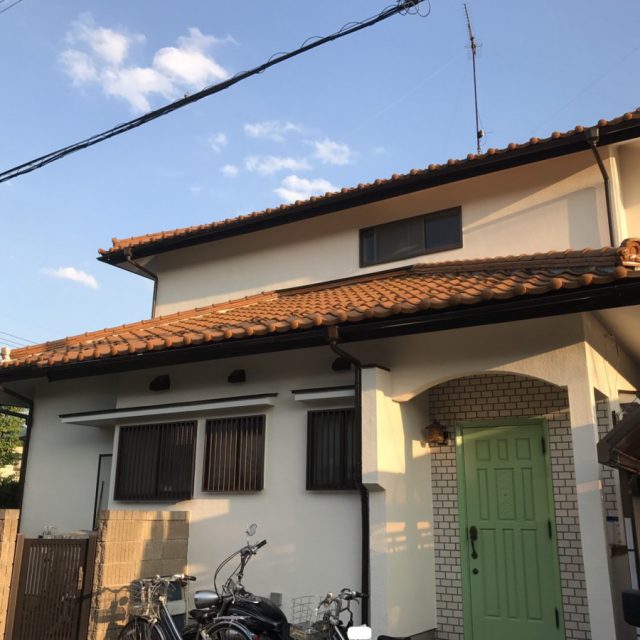

- 〔住所〕群馬県高崎市吉井町
- 〔工期〕10日間
- 〔工事費用〕60万円
- 〔工事内容〕外壁塗装工事(シリコンプラン)

ユタカペイントのチラシをご覧になったK様から、お問い合わせのお電話をいただきました。
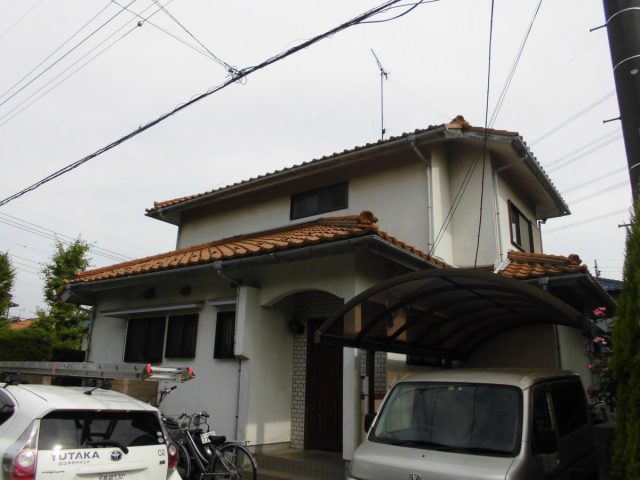
あまどいと外壁の補修
あまどいに割れている部分があり、外壁にもひびが割れている部分があるので補修もお願いします。

K様のお悩みであるひびは、塗装前にきれいに補修しましょう!
チラシに載っている、工事パックをご検討との事でしたので、シリコン塗料を使用した工事パックのお見積りを作成しました。


外壁は、とても明るくなりました。
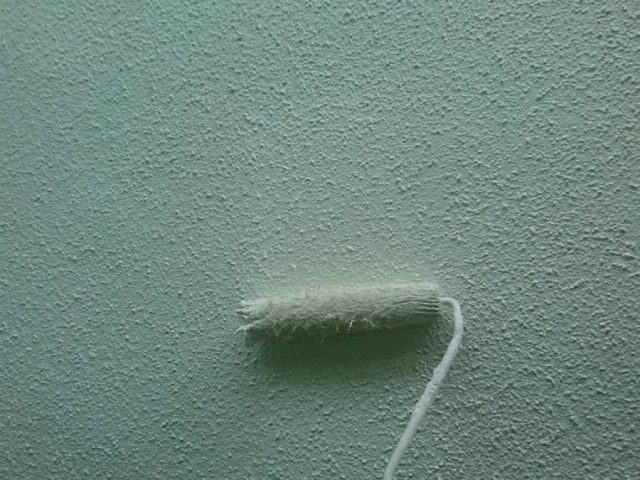
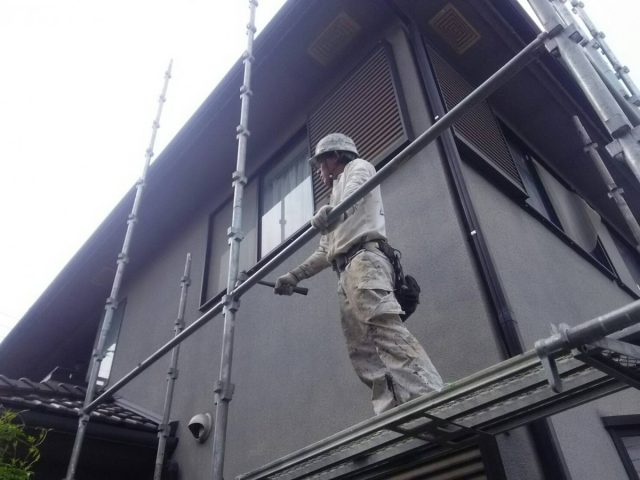
外壁の塗装は、高圧洗浄→下塗り→中塗り→上塗りと塗装していきます。
下塗りには水性ソフトサーフSG塗料を使用し、中塗りと上塗りには、水性弾性セラミシリコン塗料を使用しました。
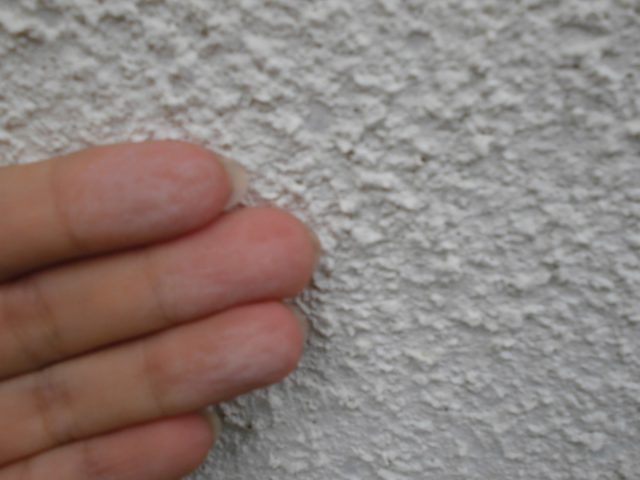
現場調査に伺った時の外壁は、チョーキング現象を起こしていました。
これは旧塗膜の剥がれによるもので、塗替えの目安となっています。
補修箇所がある場合は処理をして、高圧洗浄できれいにしてから塗装の作業に入ります。
右の写真は、仕上げの上塗りの作業です。
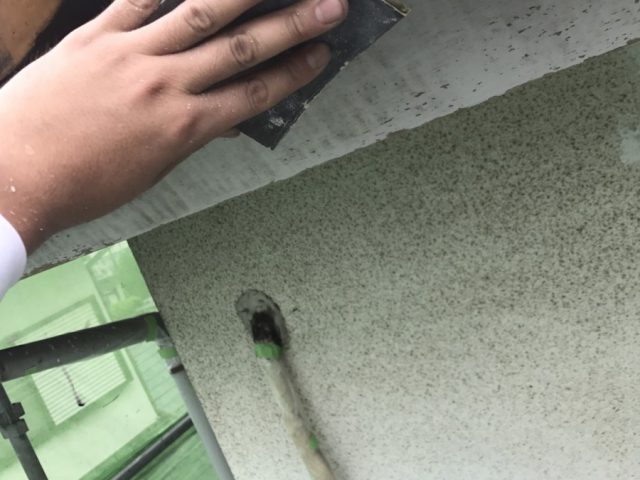
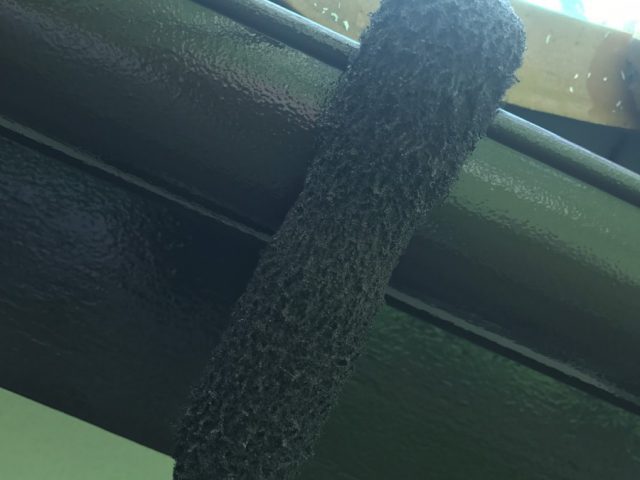
樋のケレン作業と上塗りの作業です。
まずはケレン作業で、剥がれかかっている旧塗膜やサビを丁寧に落とし、細かな傷を付けることでこれから塗っていく塗料の付を良くしてから塗装作業に移ります。
ケレン作業の後、一液マイルドシリコンを2回塗ります。
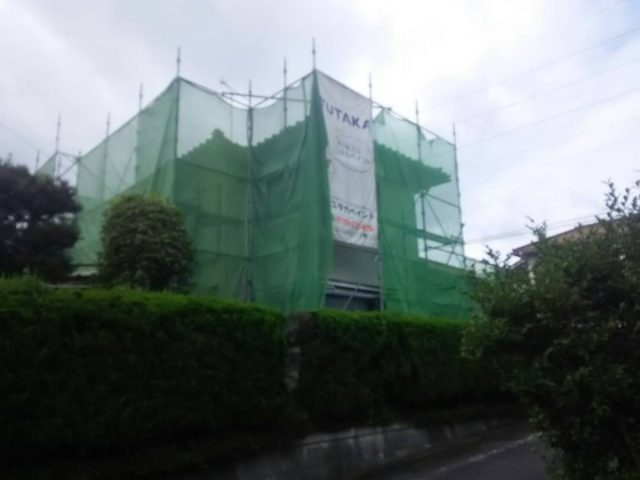
足場もユタカペイントの自社施工なので、組み立ても解体もユタカペイントのスタッフが行います。
そのため、お客様からのご要望やご質問などにも素早く対応できます!

塗替え工事は何度もある事ではなく、また、お客様の大切なお住まいに関わる事ですので、その一回一回を大切にさせていただいております。
最近では、中古物件を購入され、内装や外壁をリフォームされるお客様が大変増えています。
ご心配な事などがございましたら、お気軽にお問い合わせください。